How can a Ceiling Grid system improve installation efficiency in large commercial building projects?
Introduction
Challenge for large commercial schedules
Large commercial projects face compressed timelines, multiple trades, and high expectations for finish quality. Delays in ceiling installation often cascade into lighting, HVAC commissioning, and client handover, making the ceiling a critical path activity.
What a Ceiling Grid delivers
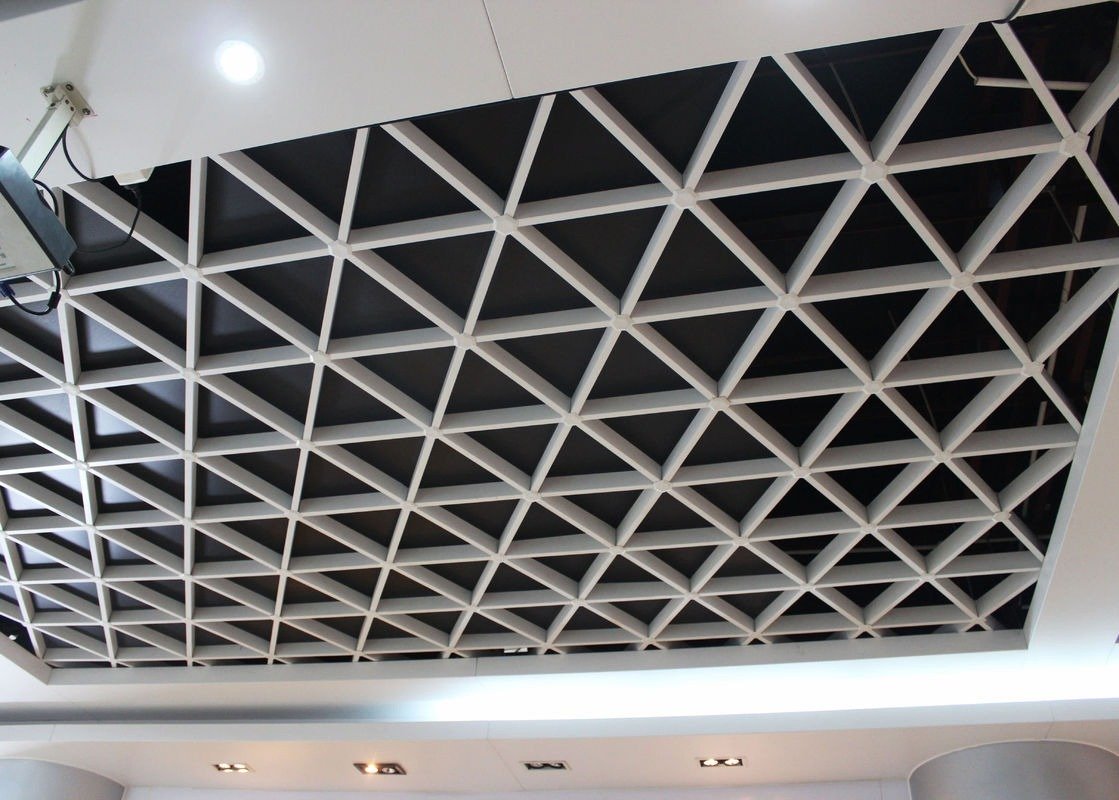
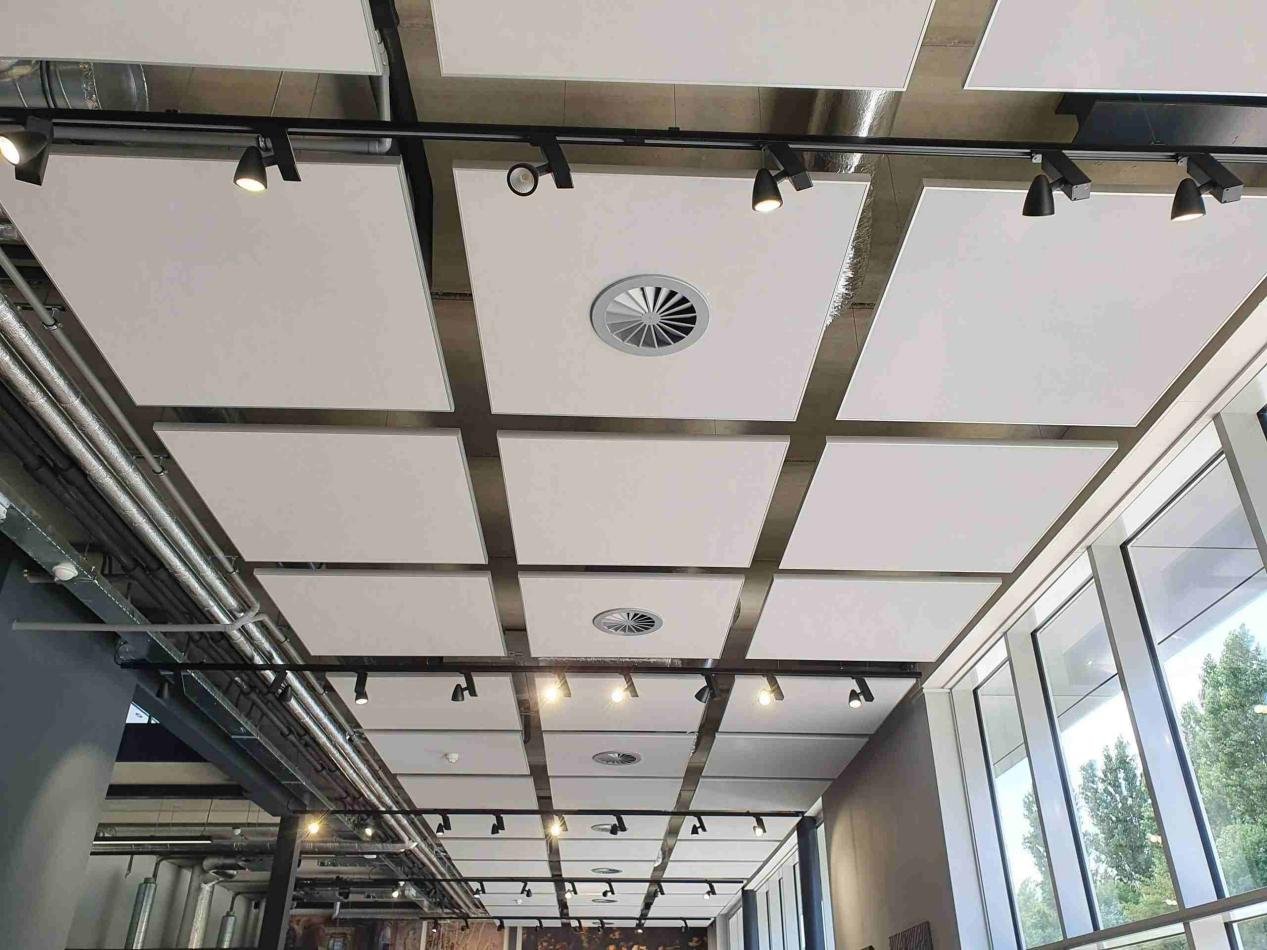
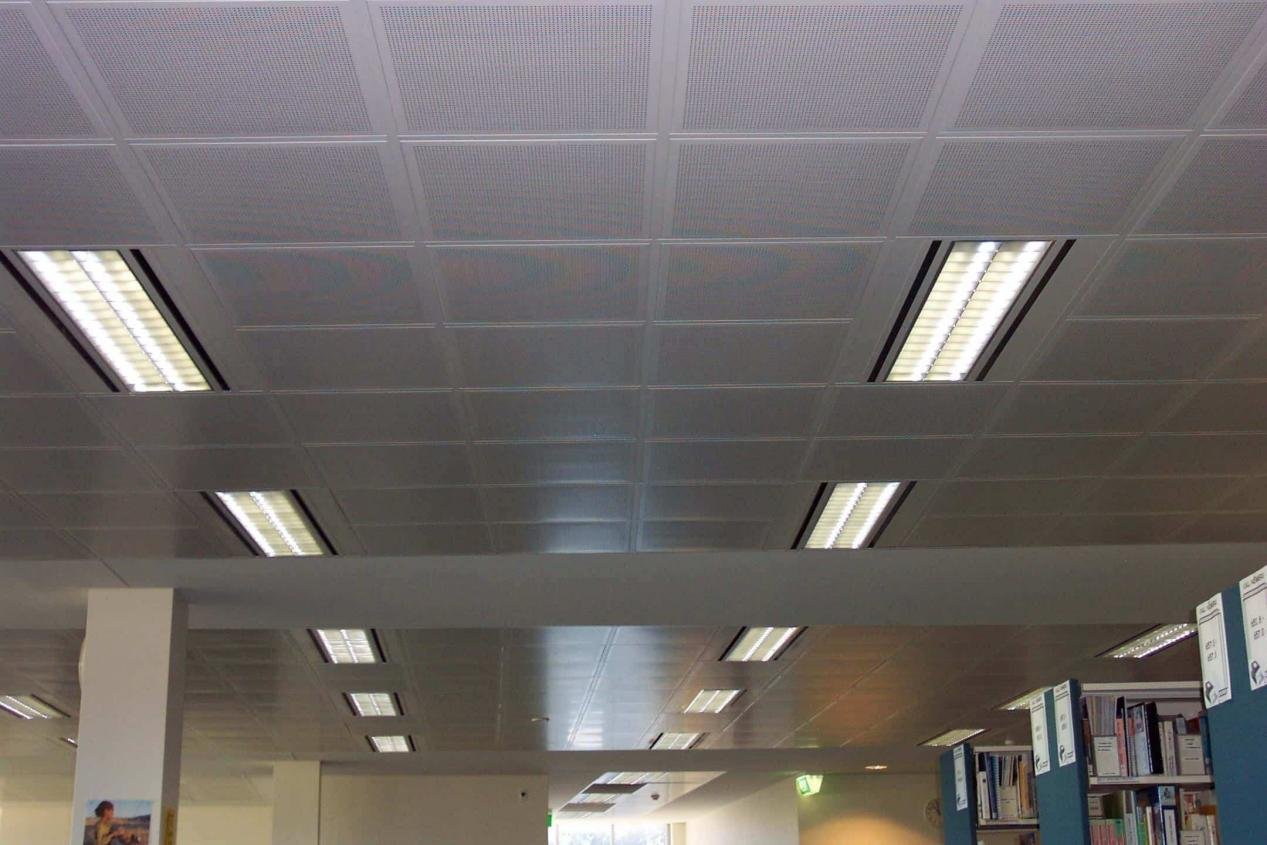
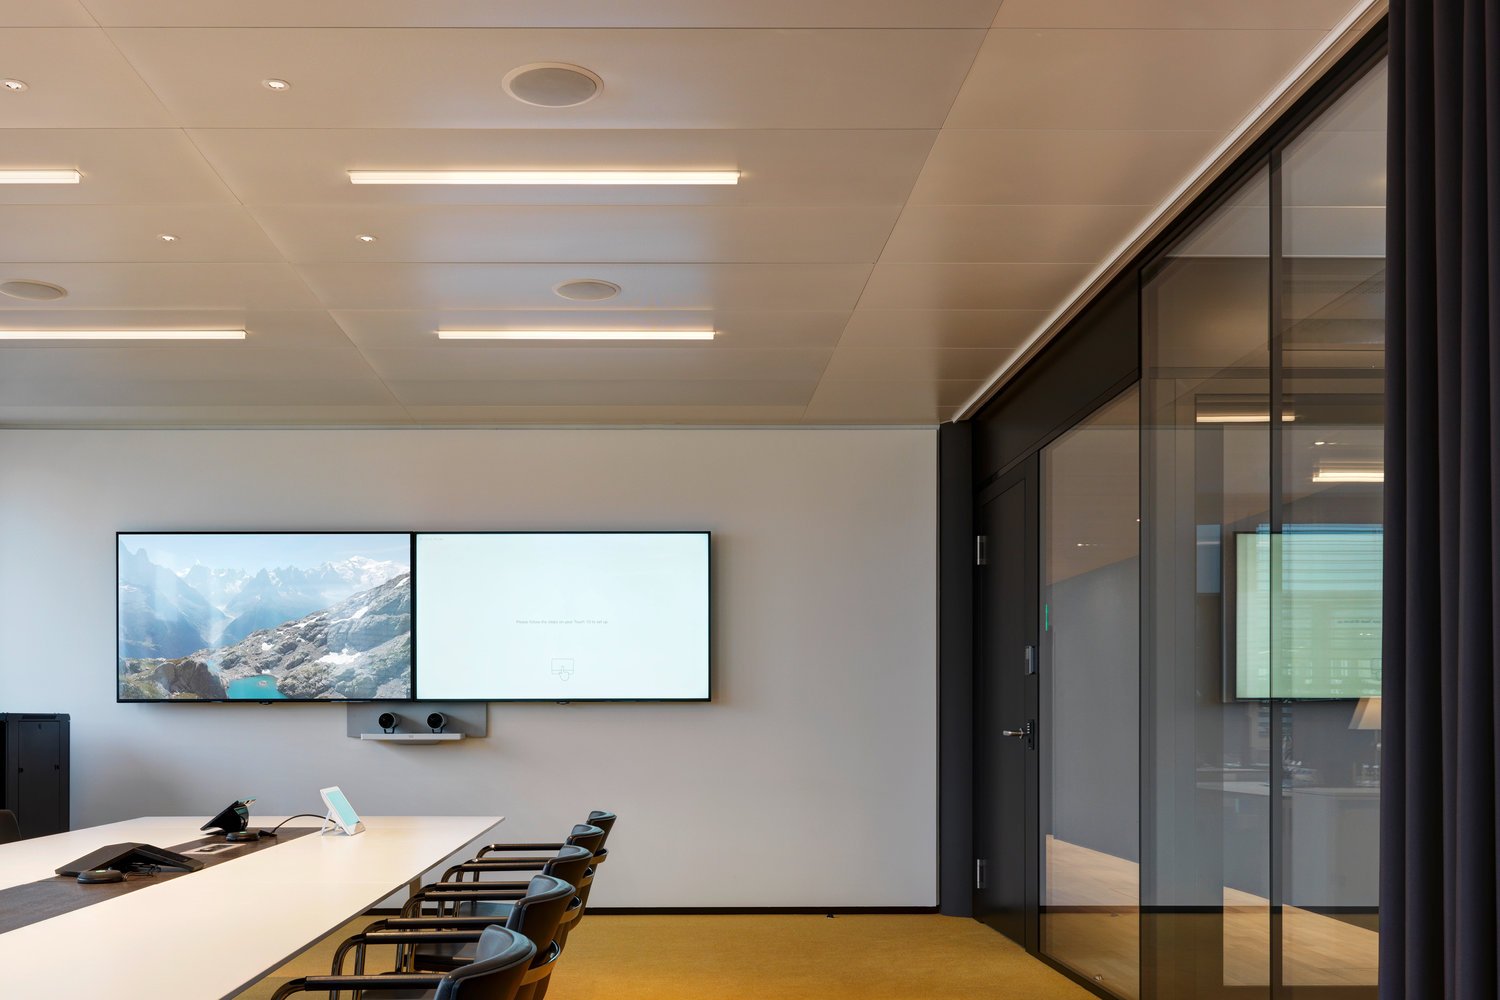
A Ceiling Grid system — prefabricated modular runners, cross-tees, and compatible panels — reduces onsite layout, cutting, and rework. By introducing repeatable modules and factory-controlled tolerances, Ceiling Grid systems help projects achieve predictable installation rates and simplified coordination.
Ceiling Grid technical features that drive installation efficiency
Industry-standard tests and metrics referenced in this article include ASTM E84 (flame spread), ASTM C423 (sound absorption), ASTM E330 (structural performance under wind load where exterior ceilings apply), and ISO 9001 for manufacturing quality systems. Using recognized standards helps align client expectations with supplier performance.
Ceiling Grid modular components and tolerances
Main tees, cross tees, carrier channels and connectors are extruded or roll-formed to precise tolerances (commonly within ±0.5 mm). Precision manufacture means fewer field adjustments, faster snap-fit connections, and more consistent gaps for lighting and diffusers.
Longer runs benefit particularly from tight tolerances: a cumulative error of even 1–2 mm per 10 m can create visible misalignment over continuous ceilings. Good suppliers publish dimensional variability statistics and provide splice details to maintain alignment across expansion joints and seismic separations.
Ceiling Grid compatibility with panels and fixtures
Standardized module sizes (e.g., 600×600, 600×1200) allow straightforward integration with acoustic tiles, metal panels, lighting troffers, HVAC diffusers, and access hatches. Factory-cut openings and pre-punched conditions reduce multi-trade cutting onsite.
When projects include non-standard fixtures, suppliers can provide bespoke cross-tee lengths or factory-modified panels. This reduces onsite labor and preserves warranty coverage compared to field-cut alterations.
Ceiling Grid hanger and connector systems
Hangers, seismic clips, and adjustable connectors are available as engineered components. Proper selection of hanger types and load-rated connectors speeds install and ensures compliance with design loads and deflection criteria.
Document hanger schedules with load ratings, proof-test values, and acceptable attachments (roof slab, beam, or structural framing). Pre-attached hanger assemblies from the factory or pre-bent rods can further cut layout time and avoid delays sourcing fasteners onsite.
Ceiling Grid design considerations for large commercial sites
Ceiling Grid load capacity and deflection control
Designers must specify hanger spacing and connector capacity to satisfy live loads (maintenance, lighting) and deflection limits (typical non-structural limit L/360). Refer to supplier load tables and engineering calculations during shop drawing review.
Where heavy integrated equipment is planned (e.g., medical pendants, acoustical clouds with weights), perform point-load analysis and provide reinforced carriers or independent support brackets. Recording the designed maximum point loads in the SCOP documents prevents future overloading during tenant fit-outs.
Ceiling Grid integration with fire and acoustic requirements
Select Ceiling Grid assemblies and panel finishes that have been tested for flame spread (ASTM E84) and acoustic performance (ASTM C423 or ISO 354). Choose options that meet both life-safety and acoustic targets without excessive build-up.
In some jurisdictions, ceiling plenums are part of smoke-control strategies; ensure your Ceiling Grid and penetrations maintain compartmentation. Work with the supplier to provide tested assembly reports or witnessed testing where necessary to support code approvals.
Ceiling Grid BIM coordination and tolerances
Use BIM to coordinate ceiling grid heights, lighting, sprinkler heads, and ductwork. Clash detection reduces surprises on site; include grid tolerances and interface details in the model to speed prefabrication and avoid rework.
Provide the supplier with LOD 350 models for ceilings where possible; a higher level of detail in the model enables off-site prefabrication of grid assemblies with cut-outs, reducing field intervention. Establish a change-management protocol for model updates to prevent costly late revisions.
Ceiling Grid installation best practices (explicitly titled)
Pre-construction coordination and mock-ups
Early workshops with MEP, lighting, and acoustic consultants let teams resolve penetrations and access points. Approve a mock-up with the Ceiling Grid, panels, and integrated fixtures to verify aesthetics and tolerances.
Mock-ups also serve as a training reference for installers and a QA benchmark for factory production. Record measured tolerances from the mock-up and include them in the contract as acceptance criteria to avoid subjective disputes at installation.
Efficient on-site assembly sequences
Organize installation in zones and deliver kits per zone with labeled components. Start grid runs from stable datum lines and progress outward; use temporary bracing to maintain elevation where needed.
Batch-install lighting or mechanical rough-ins above the grid modules before inserting panels; this allows MEP contractors to work in the plenum while grid crews progress. Use daily coordination huddles and digital tracking to measure progress against the schedule, adjusting kit deliveries as needed.
Tools, jigs, and team organization
Equip crews with mobile hoists, laser levels, and pre-set jigs for intersections. Train a dedicated team for grid assembly and a separate finishing team for panel insertion to maximize work parallelism.
Performance and maintenance of Ceiling Grid systems
Access, serviceability, and lifecycle planning
Ceiling Grid systems inherently enable localized access for maintenance. Specify removable access panels and establish panel replacement procedures as part of facility management planning to minimize downtime.
Include a documented panel numbering system and as-built drawings for the facilities team to locate services quickly. Estimate lifecycle replacement costs in the maintenance plan — high-wear zones may require more durable panel faces or metal panels to lower long-term expenses.
Durability, coatings, and corrosion protection
For longevity, choose coated or anodized finishes with tested adhesion and thickness values. Manufacturing QC should include coating thickness measurement, salt spray resistance (where applicable), and batch traceability to avoid premature degradation.
Request production test certificates for coating batches and ask the supplier for documented corrective actions if any batch falls short. For coastal or high-humidity projects, upgrade to marine-grade coatings or stainless steel where the life-cycle assessment justifies the cost.
Cleaning, hygiene and infection-control (healthcare focus)
In healthcare or cleanroom environments, select Ceiling Grid configurations with sealed joints and panels with anti-microbial facings. Verify that cleaning protocols are compatible with panel finishes and that the Ceiling Grid does not impede access to services.
Real project application: Hypothetical large office complex case
Project scenario and constraints
A 48,000 m² multi-floor office project required a fast fit-out with minimal disruption to occupied floors, a 20-month completion window, and strict acoustic benchmarks for open-plan areas.
Ceiling Grid solution and outcomes
The project used pre-assembled Ceiling Grid modules sized to standard panel dimensions. Shop-drawn hanger layouts and coordinated BIM files allowed parallel MEP work. Result: ceiling installation productivity increased by an estimated 35%, scaffolding needs were cut in half, and overall fit-out milestones were met two months early.
Lessons learned and procurement notes
Phased delivery and labeled zone kits were crucial. Early procurement of long-lead integrated light modules and approval of a full-size mock-up prevented late design changes and enabled reliable batch manufacturing.
Procurement, manufacturing and quality control guidance
Specification and shop drawing requirements
Request manufacturer shop drawings that show hanger spacings, load tables, splice details, and shop-punched penetrations. Mandate mock-ups and sample panels for finish approval prior to production.
Include acceptance criteria and measurement methods in the contract: describe acceptable gap widths, permissible twist at intersections, and finish appearance. Require third-party dimensional checks on initial deliveries to confirm supplier performance and reduce disputes.
Manufacturing best practices and QA
Good manufacturers follow ISO 9001 practices with SPC on critical dimensions and coating lines. Include adhesion, thickness, and visual inspections in supplier QA reports. Batch traceability reduces risk and simplifies warranty claims.
Ask for statistical sample test results (e.g., 1-in-50 components) and independent laboratory reports for performance claims. Factory acceptance testing (FAT) for prefabricated modules can uncover issues before shipping and avoid costly returns or rework on site.
Logistics, staging and delivery sequencing
Plan for floor-by-floor deliveries, secure storage, and just-in-time staging. Label components by zone and sequence; require supplier packing lists that map to the onsite installation schedule.
Actionable recommendations for specifiers and decision-makers
Step-by-step checklist
Include Ceiling Grid options in schematic design and cost models.
Define acoustic, fire, and serviceability targets in the performance spec.
Require BIM coordination and mock-up approval.
Specify prefabrication level, coatings, and QA documentation.
Plan delivery sequencing, staging, and acceptance criteria.
Use day-by-day QA sign-offs and record-as-built grid layouts for facilities teams.
Provide practical metrics: set a target installation rate in m² per crew-day based on mock-up performance, and measure daily to identify bottlenecks early. Capture lessons learned in a turnover pack for the facilities manager.
Quick cost vs. schedule trade-off guidance
Investing in higher factory prefabrication reduces onsite labor and schedule risk but may increase early procurement costs. Balance through life-cycle costing that accounts for lower onsite supervision and earlier handover.
Comparison table: Ceiling Grid trade-offs
System type
Speed of installation
Acoustic performance
Typical application
Exposed grid (metal panels)
Very fast
Moderate
Retail, office open-plan
Concealed grid (flush panels)
Moderate
High
Executive suites, auditoria
Integrated modular grid (lighting/HVAC)
Fast
High
Healthcare, labs, premium offices
Addressing common objections and concerns
Objection: Perceived lower durability
Counter: Specify metal panels, corrosion-resistant finishes, and maintenance plans. Demonstrate coating test results in procurement.
Objection: Coordination complexity
Counter: Require BIM-delivered models and a single-source responsibility for ceiling-integrated fixtures; mock-ups validate coordination.
Objection: Acoustic shortfalls
Counter: Use specified NRC-rated panels, absorptive islands, and validated lab testing (ASTM C423).
Conclusion and next steps
Summary of benefits
A well-specified Ceiling Grid reduces installation time, mitigates coordination risk, and improves long-term serviceability. For large commercial work, the system is a cost-effective route to schedule certainty.
Next steps for project teams
Begin by including Ceiling Grid options in early design, require a mock-up prior to production, and insist on supplier QA documentation for dimensional and coating performance.
FAQ
Q1: How does a Ceiling Grid speed installation?
A1: A Ceiling Grid speeds installation through modular prefabrication, reduced cutting, and simplified MEP coordination. Factory tolerances and labeled zone kits cut field labor and rework, improving schedule certainty.
Q2: Are Ceiling Grid systems compliant with fire codes?
A2: Ceiling Grid assemblies can be compliant when specified with tested panels and described in the performance spec. Verify assemblies for ASTM E84 flame spread, local code approvals, and manufacturer fire-rated systems.
Q3: Can Ceiling Grid be used in seismic regions?
A3: Yes. Use Ceiling Grid systems with seismic-rated clips, lateral bracing and engineered hanger layouts in accordance with local seismic codes and supplier test data.
Q4: What maintenance does a Ceiling Grid require?
A4: Maintenance includes panel cleaning, replacement of damaged tiles, and periodic inspection of hangers. Specify coated panels and QC-tested components to minimize maintenance frequency and extend life.
Q5: How to specify Ceiling Grid for high acoustic performance?
A5: To hit acoustic targets, choose high-NRC panels, incorporate absorptive elements, and require lab testing (ASTM C423) and in-situ verification after installation.
Looking for custom-designed ceilings, walls, or facades to elevate your project? Explore PRANCE Design’s integrated design and manufacturing solutions, and create the perfect fit for your architectural needs today!


 Industry-standard tests and metrics referenced in this article include ASTM E84 (flame spread), ASTM C423 (sound absorption), ASTM E330 (structural performance under wind load where exterior ceilings apply), and ISO 9001 for manufacturing quality systems. Using recognized standards helps align client expectations with supplier performance.